• About
  • Work I've made
  • Other projects
  • Awards
  • Contact
Menu

Mike Crowe

  • About
  • Work I've made
  • Other projects
  • Awards
  • Contact

Damascus Steel

IMG_8212.jpg
IMG_7946.jpg
IMG_7906.jpg
IMG_7916.jpg
IMG_7923.jpg
IMG_7987.jpg
IMG_8035.jpg
IMG_8091.jpg
IMG_8097.jpg
IMG_8095.jpg
IMG_7973.jpg
IMG_8049.jpg
IMG_8170.jpg
IMG_8169.jpg
IMG_8054.jpg
IMG_8196.jpg

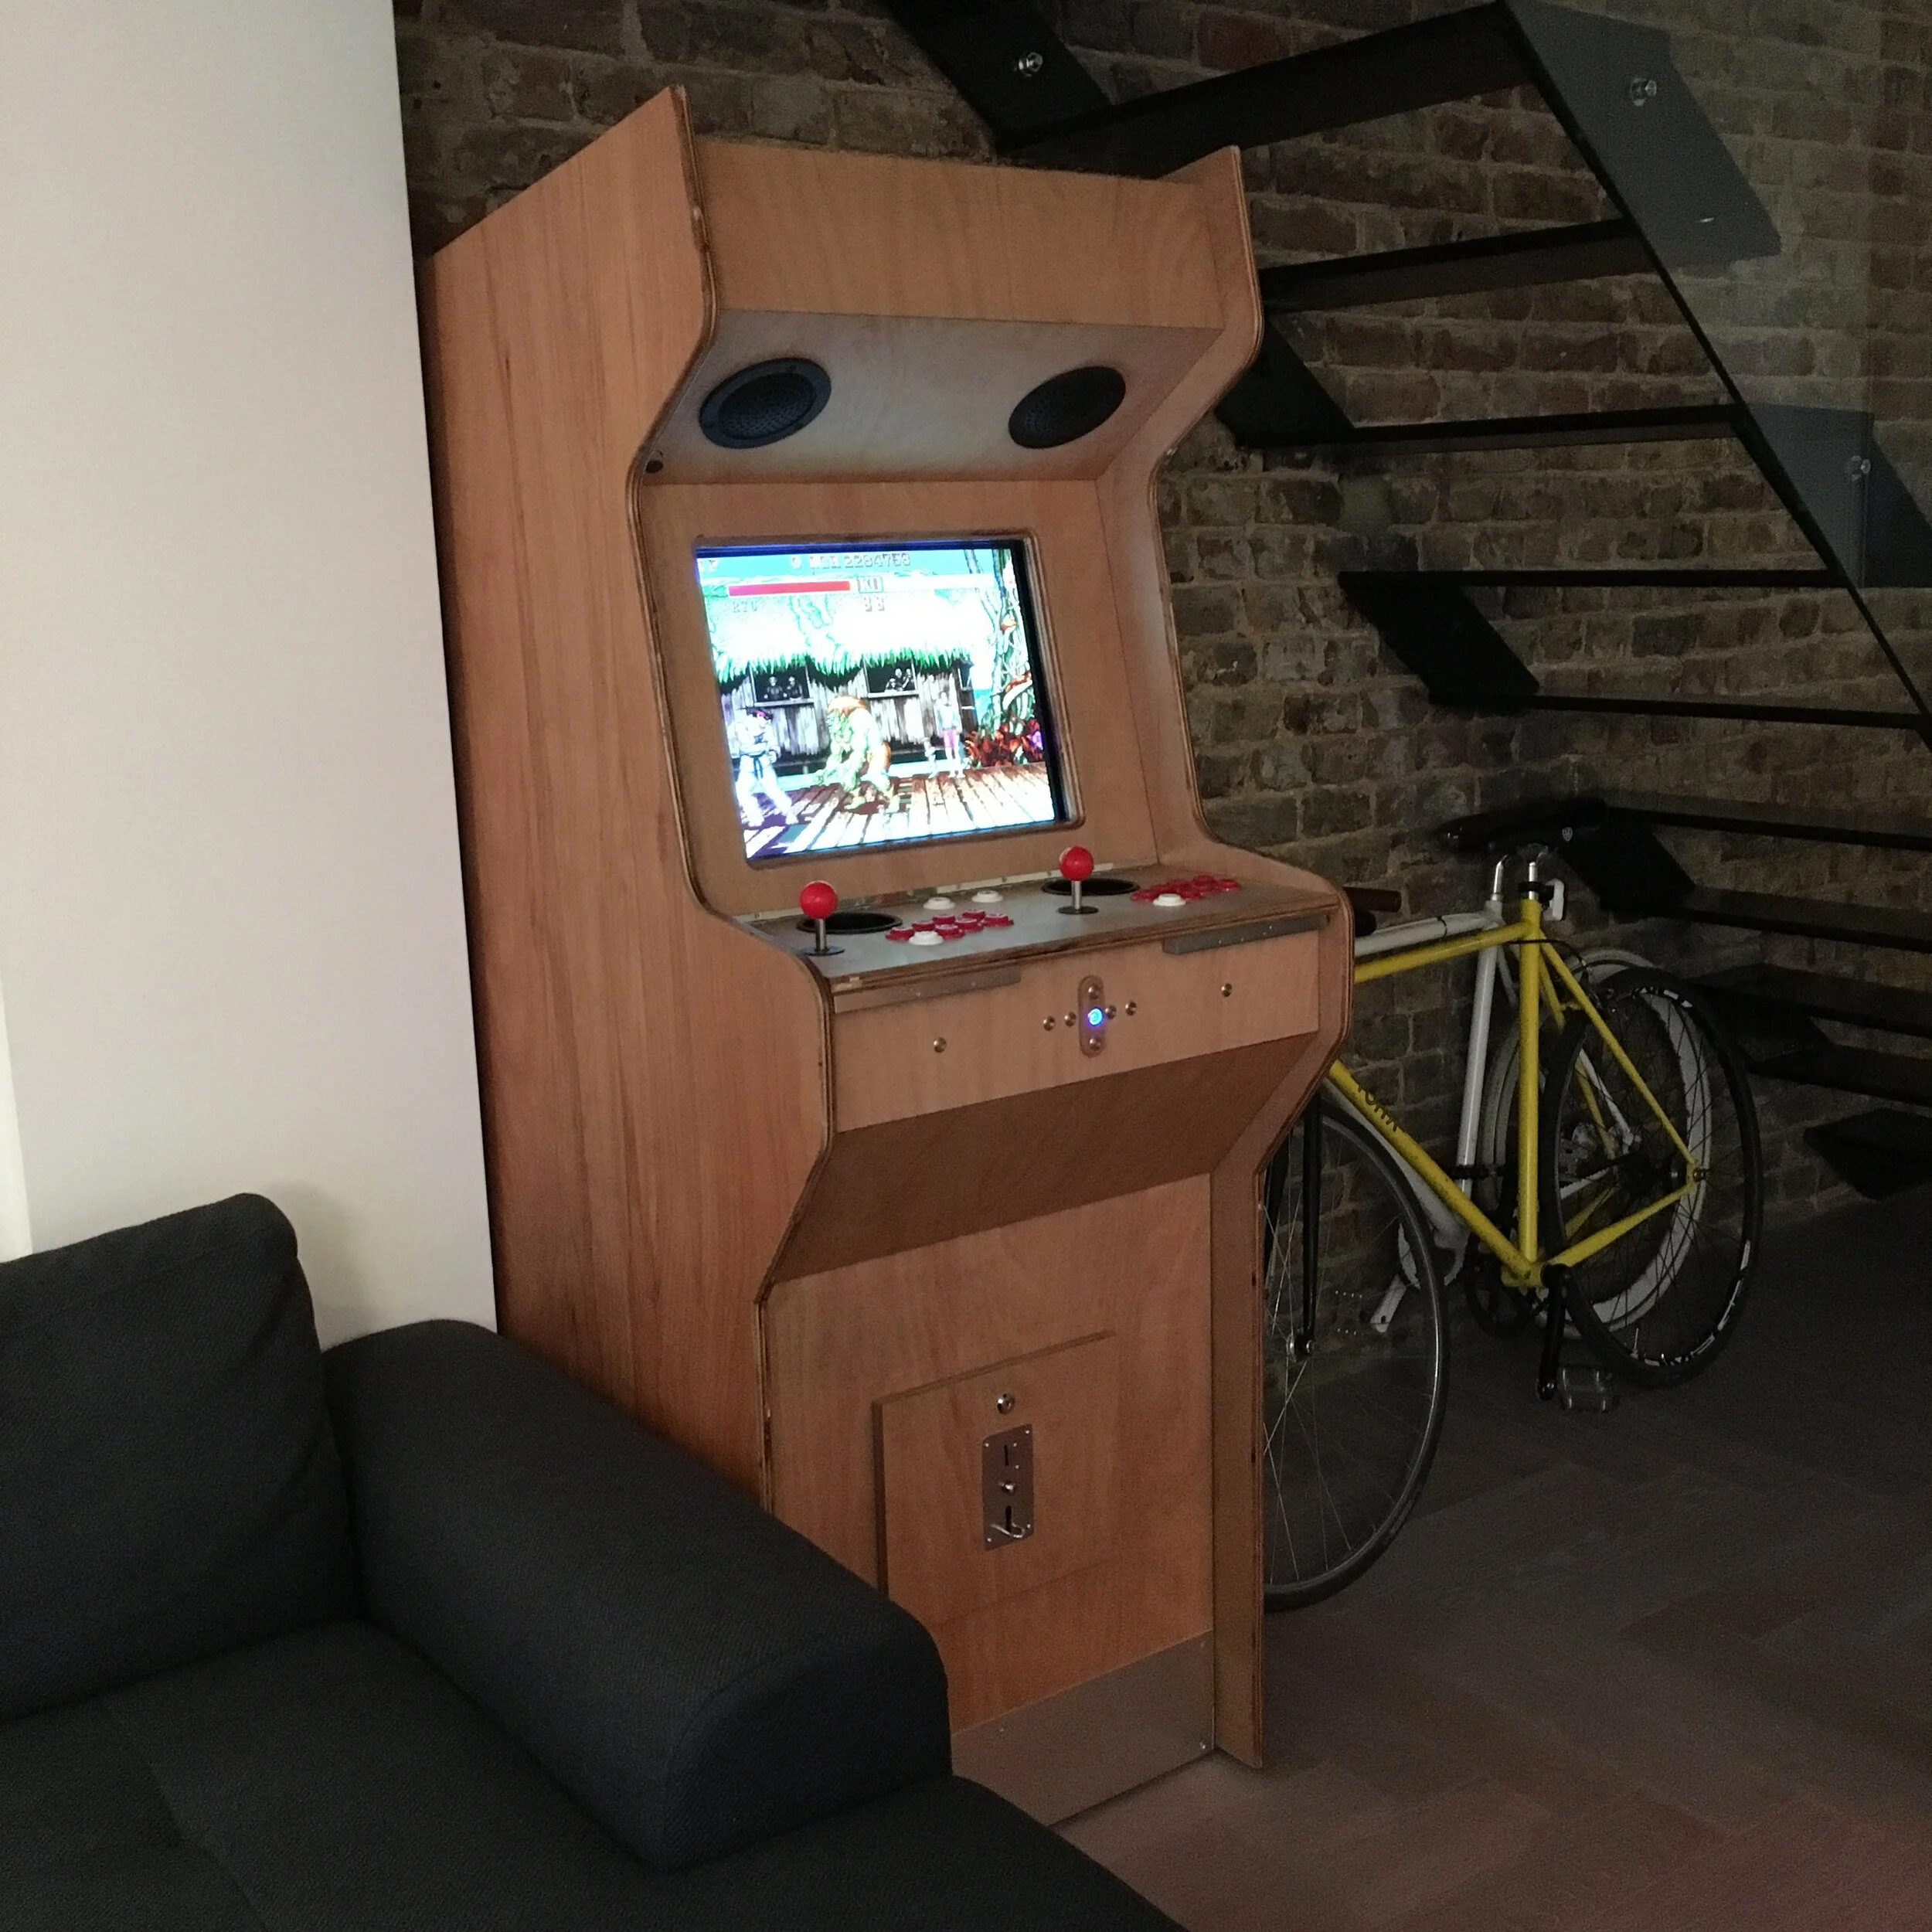
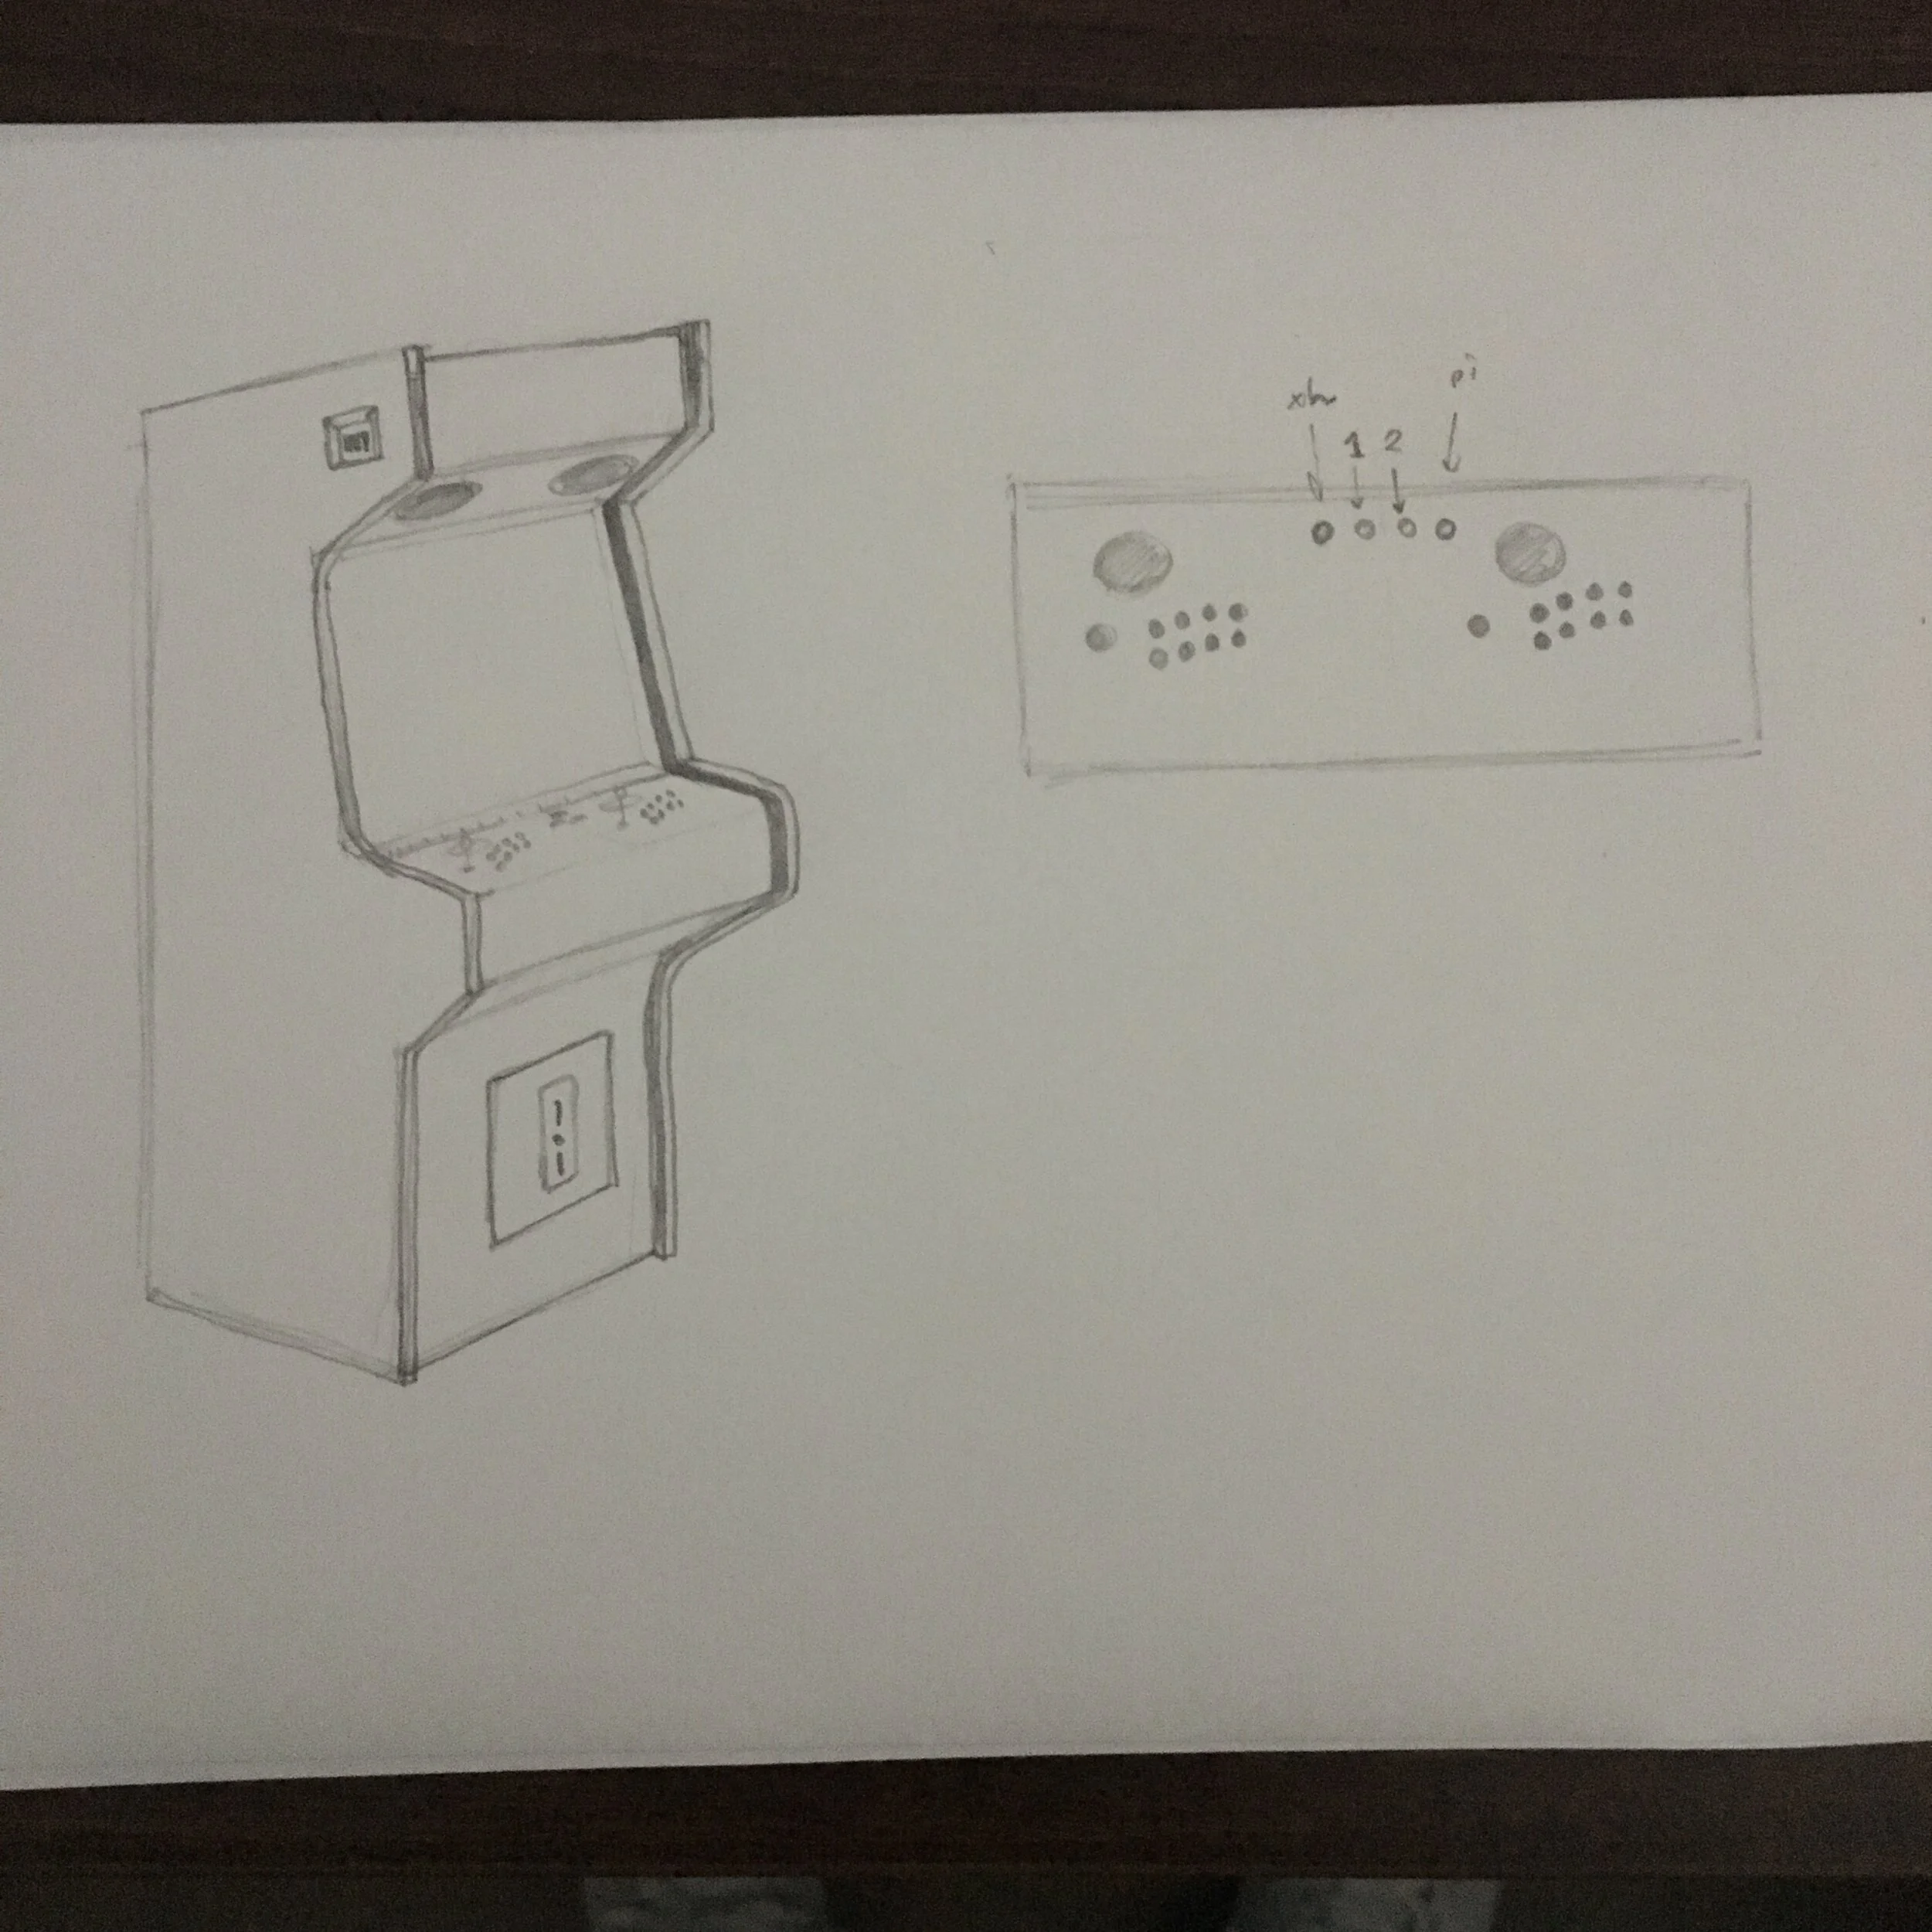
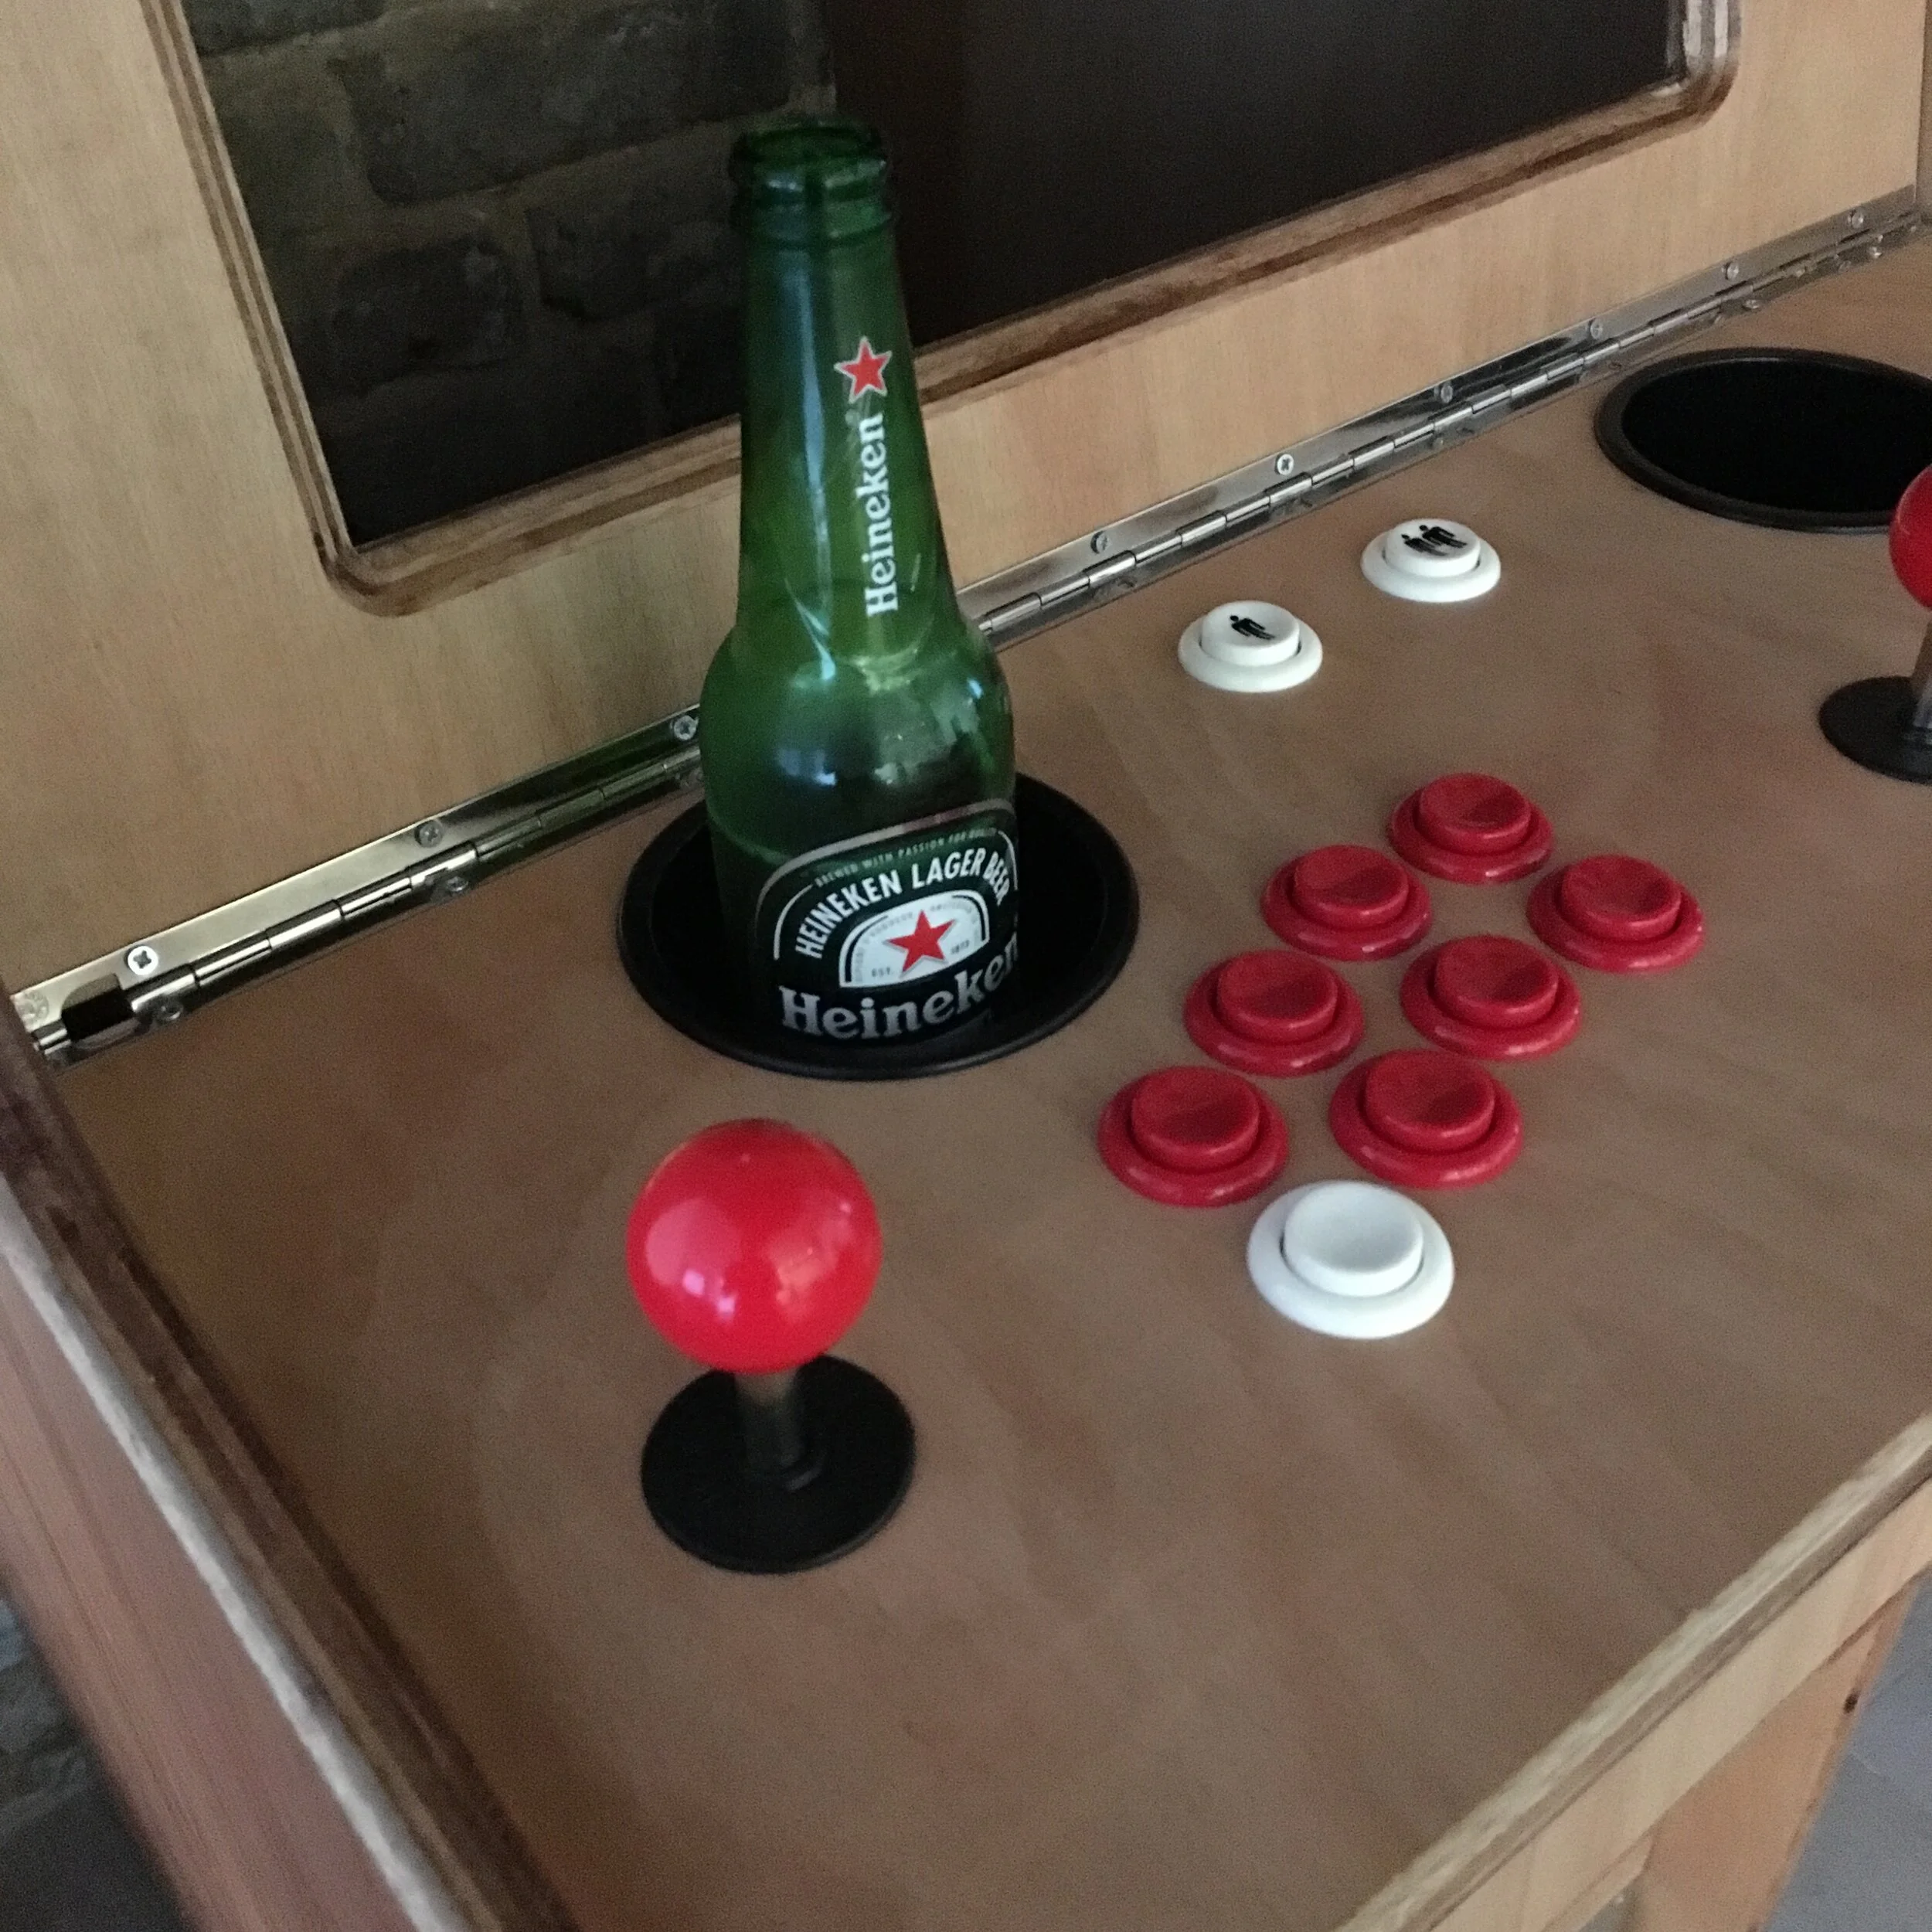
Arcade Machine

IMG_5122.JPG
IMG_4262.JPG
IMG_4497.JPG
IMG_4552.JPG
IMG_4612.JPG
IMG_4781.JPG
IMG_4720.JPG
IMG_4825.JPG
IMG_4821.JPG
IMG_4989.JPG
IMG_4920.JPG
IMG_4884.JPG
IMG_4563.JPG
IMG_5007.JPG
IMG_4699.JPG
IMG_4695.JPG

Jewellery

IMG_4647.jpg
IMG_4646.jpg
IMG_4367.jpg
IMG_4370.jpg
IMG_5824.jpg
IMG_5832.jpg
IMG_5829.jpg
IMG_5828.jpg
IMG_6574.jpg
IMG_6620.jpg
IMG_6578.jpg
IMG_9772.jpg
IMG_9749.jpg
IMG_9815.jpg
IMG_9764.jpg
IMG_9816.jpg
IMG_9810.jpg

Smart Mirror

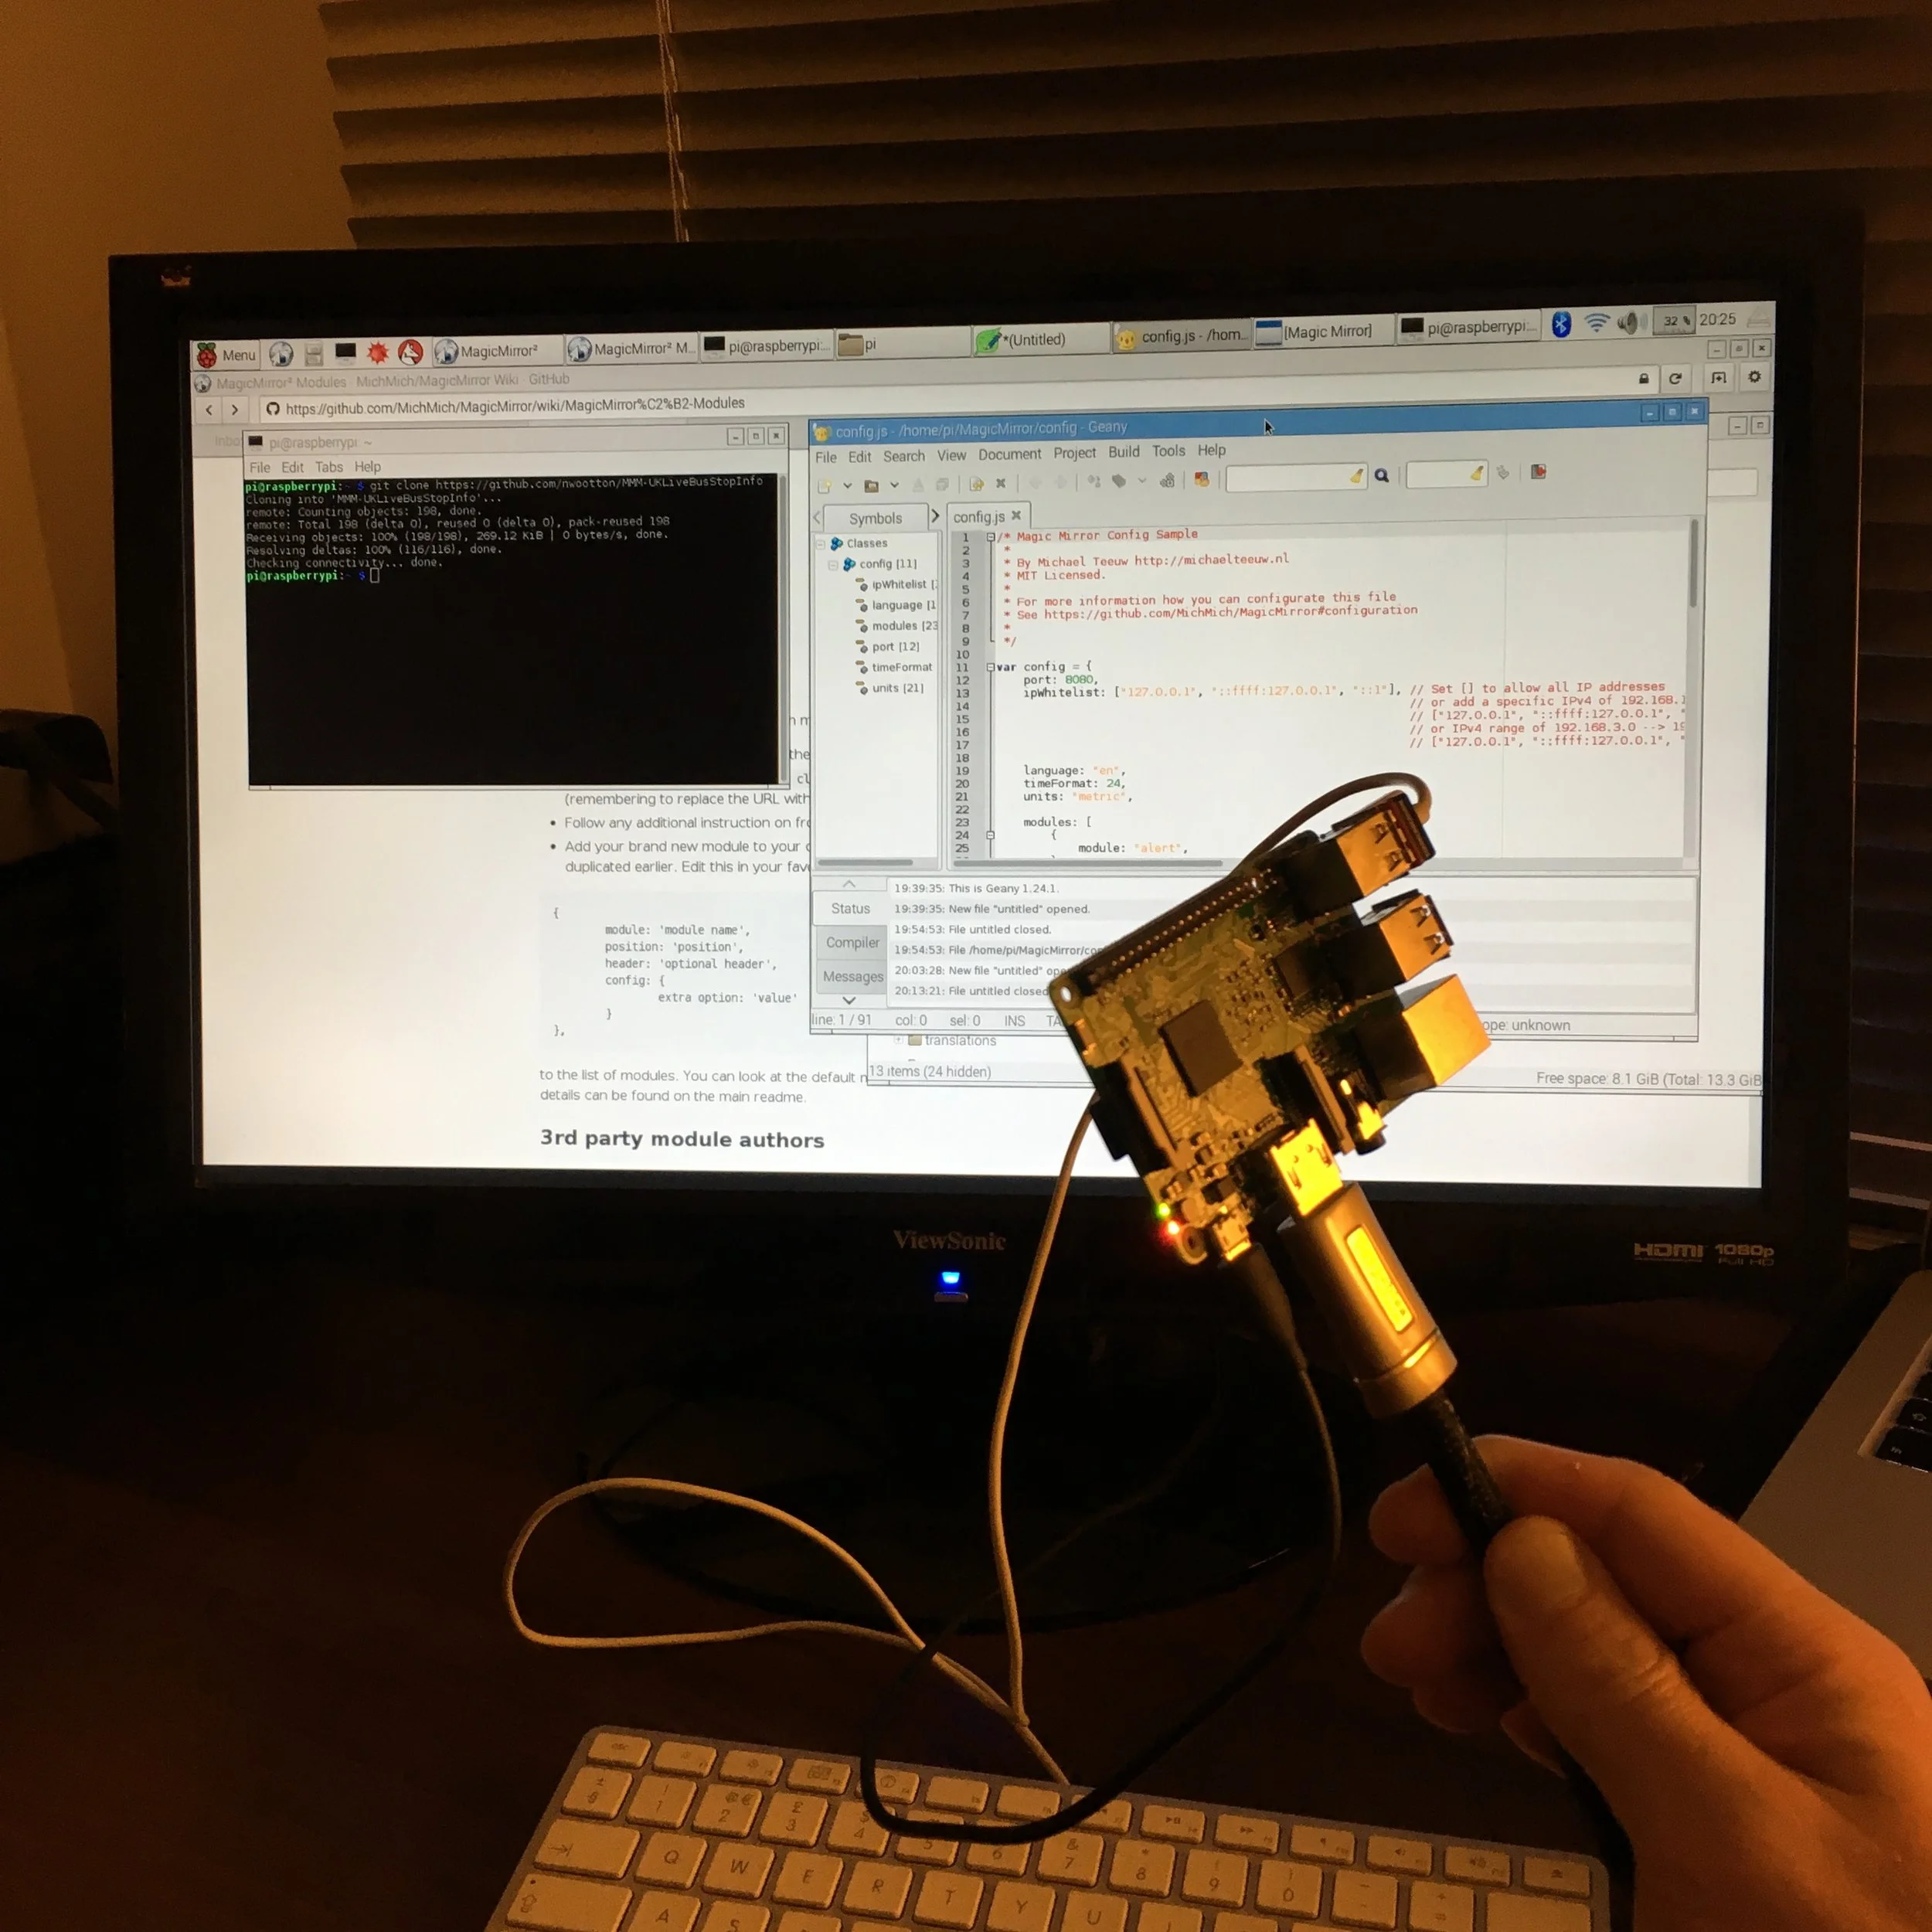
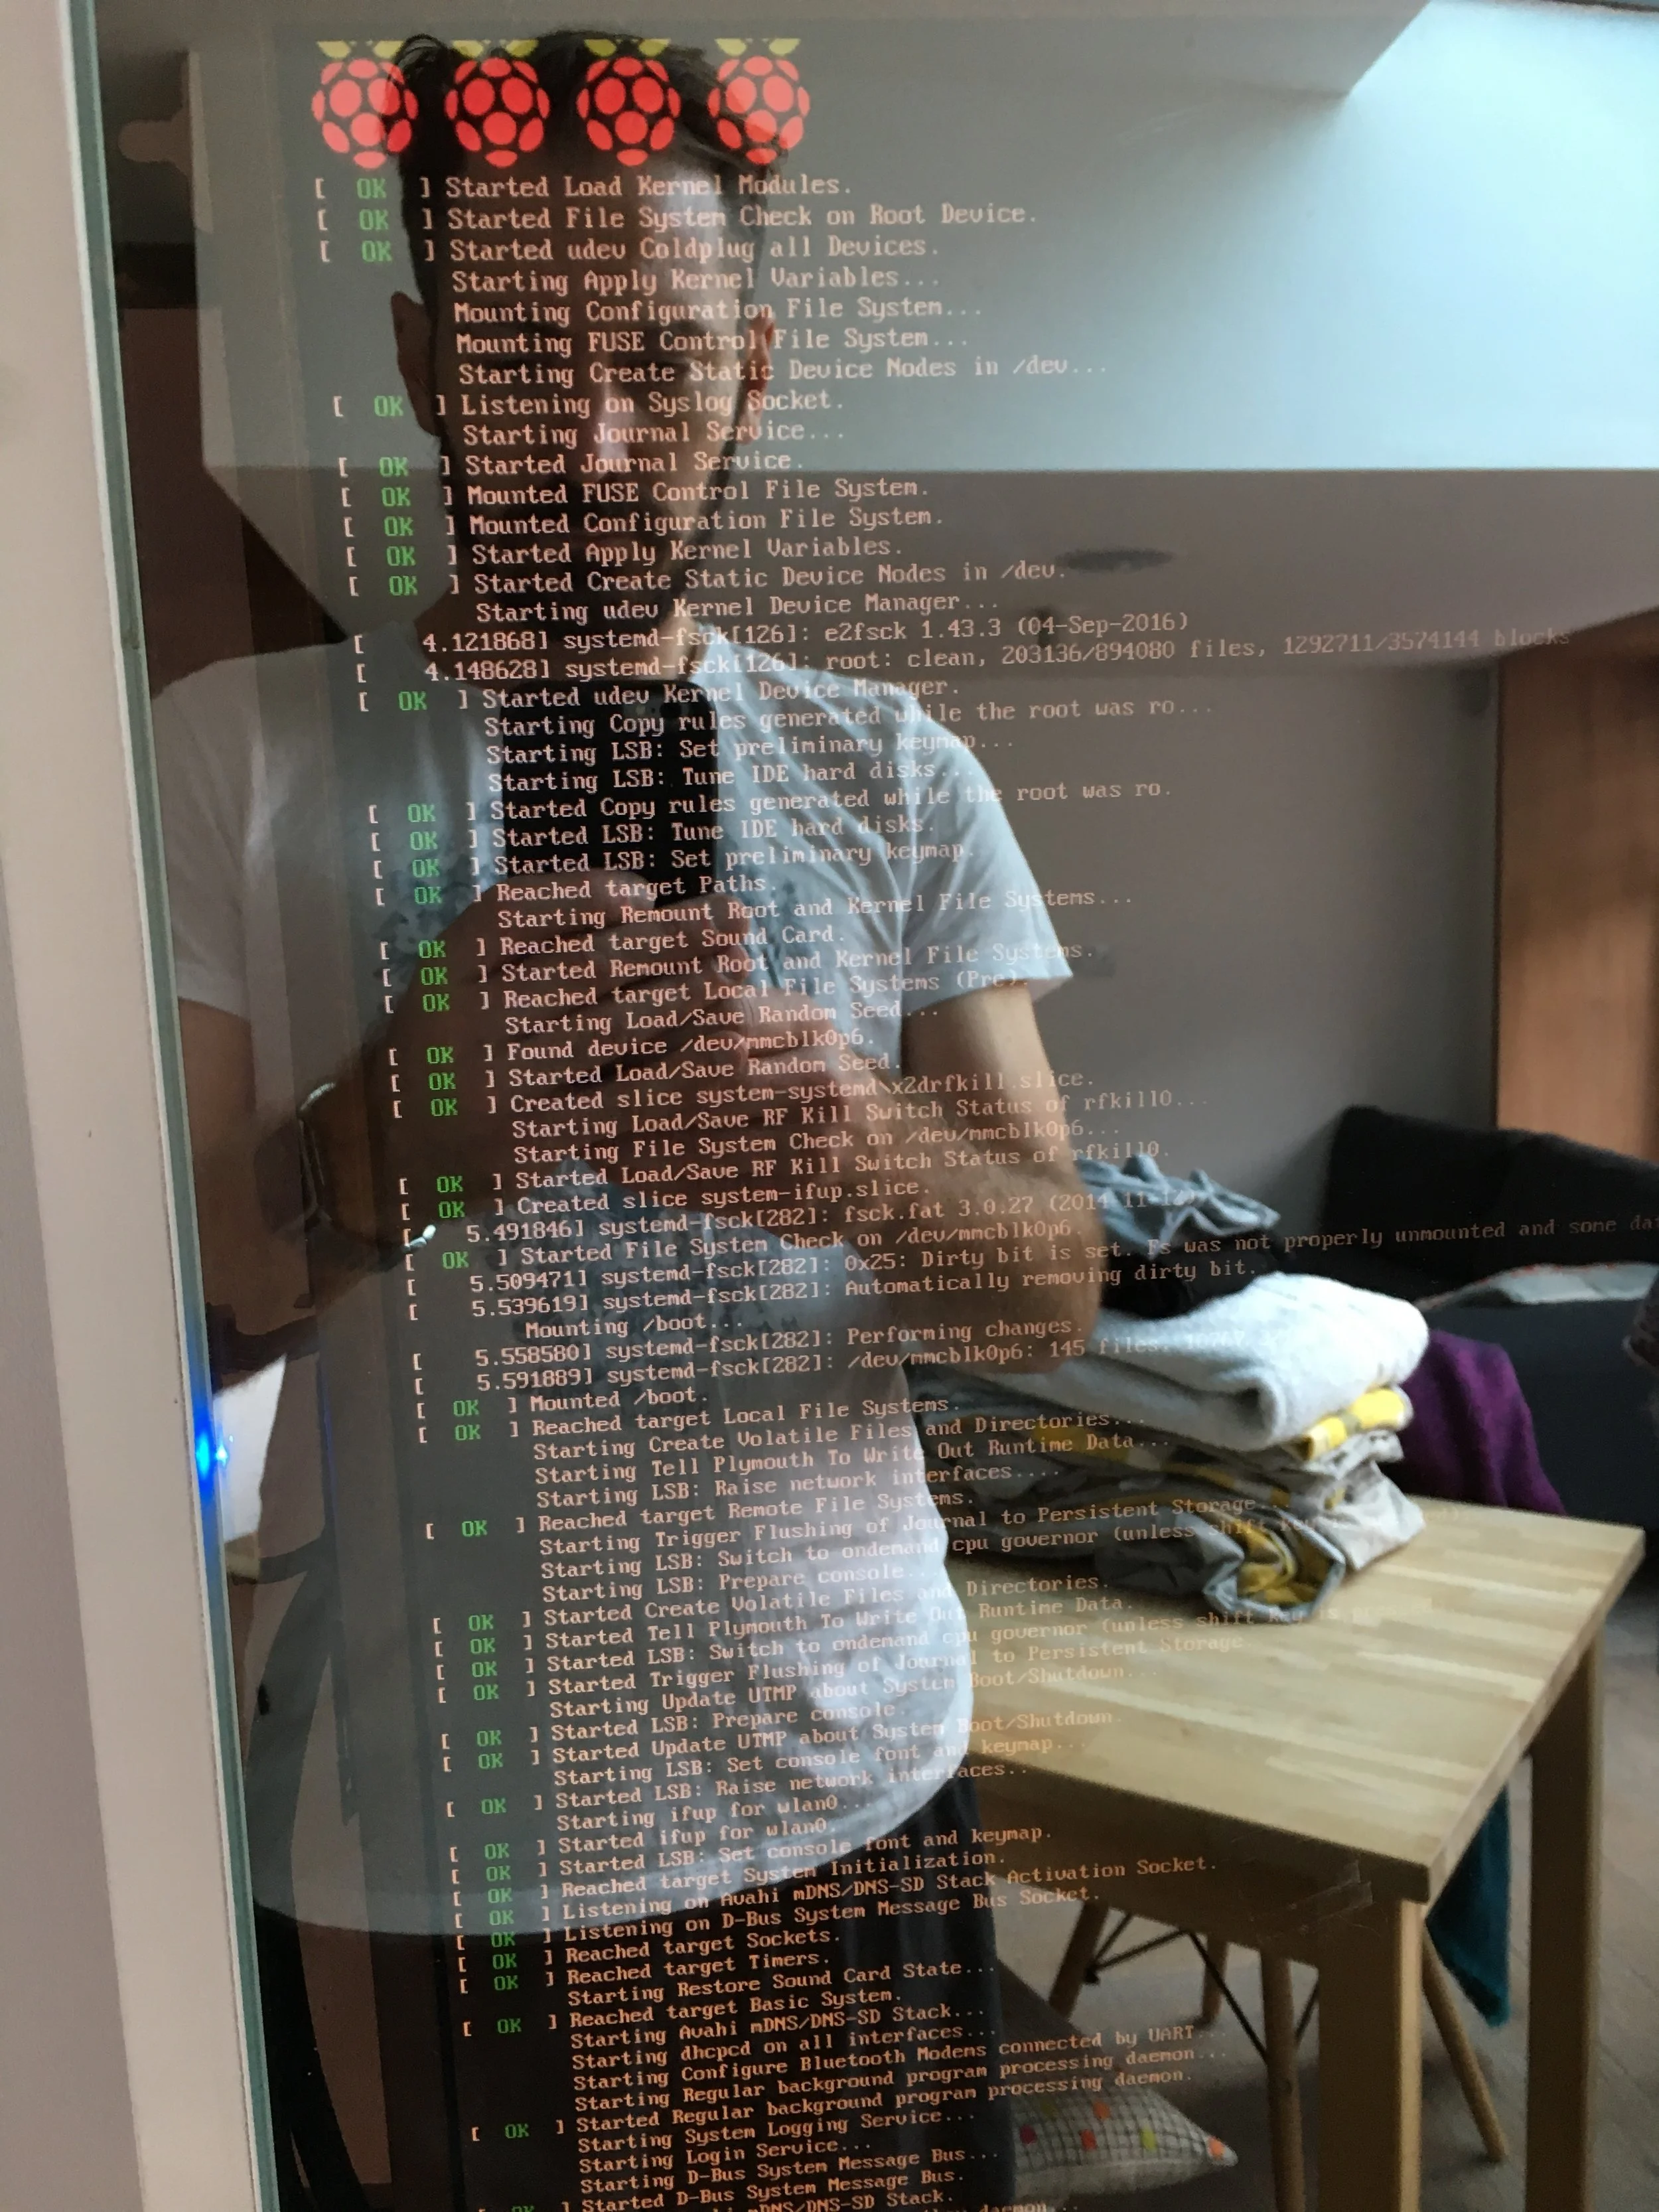
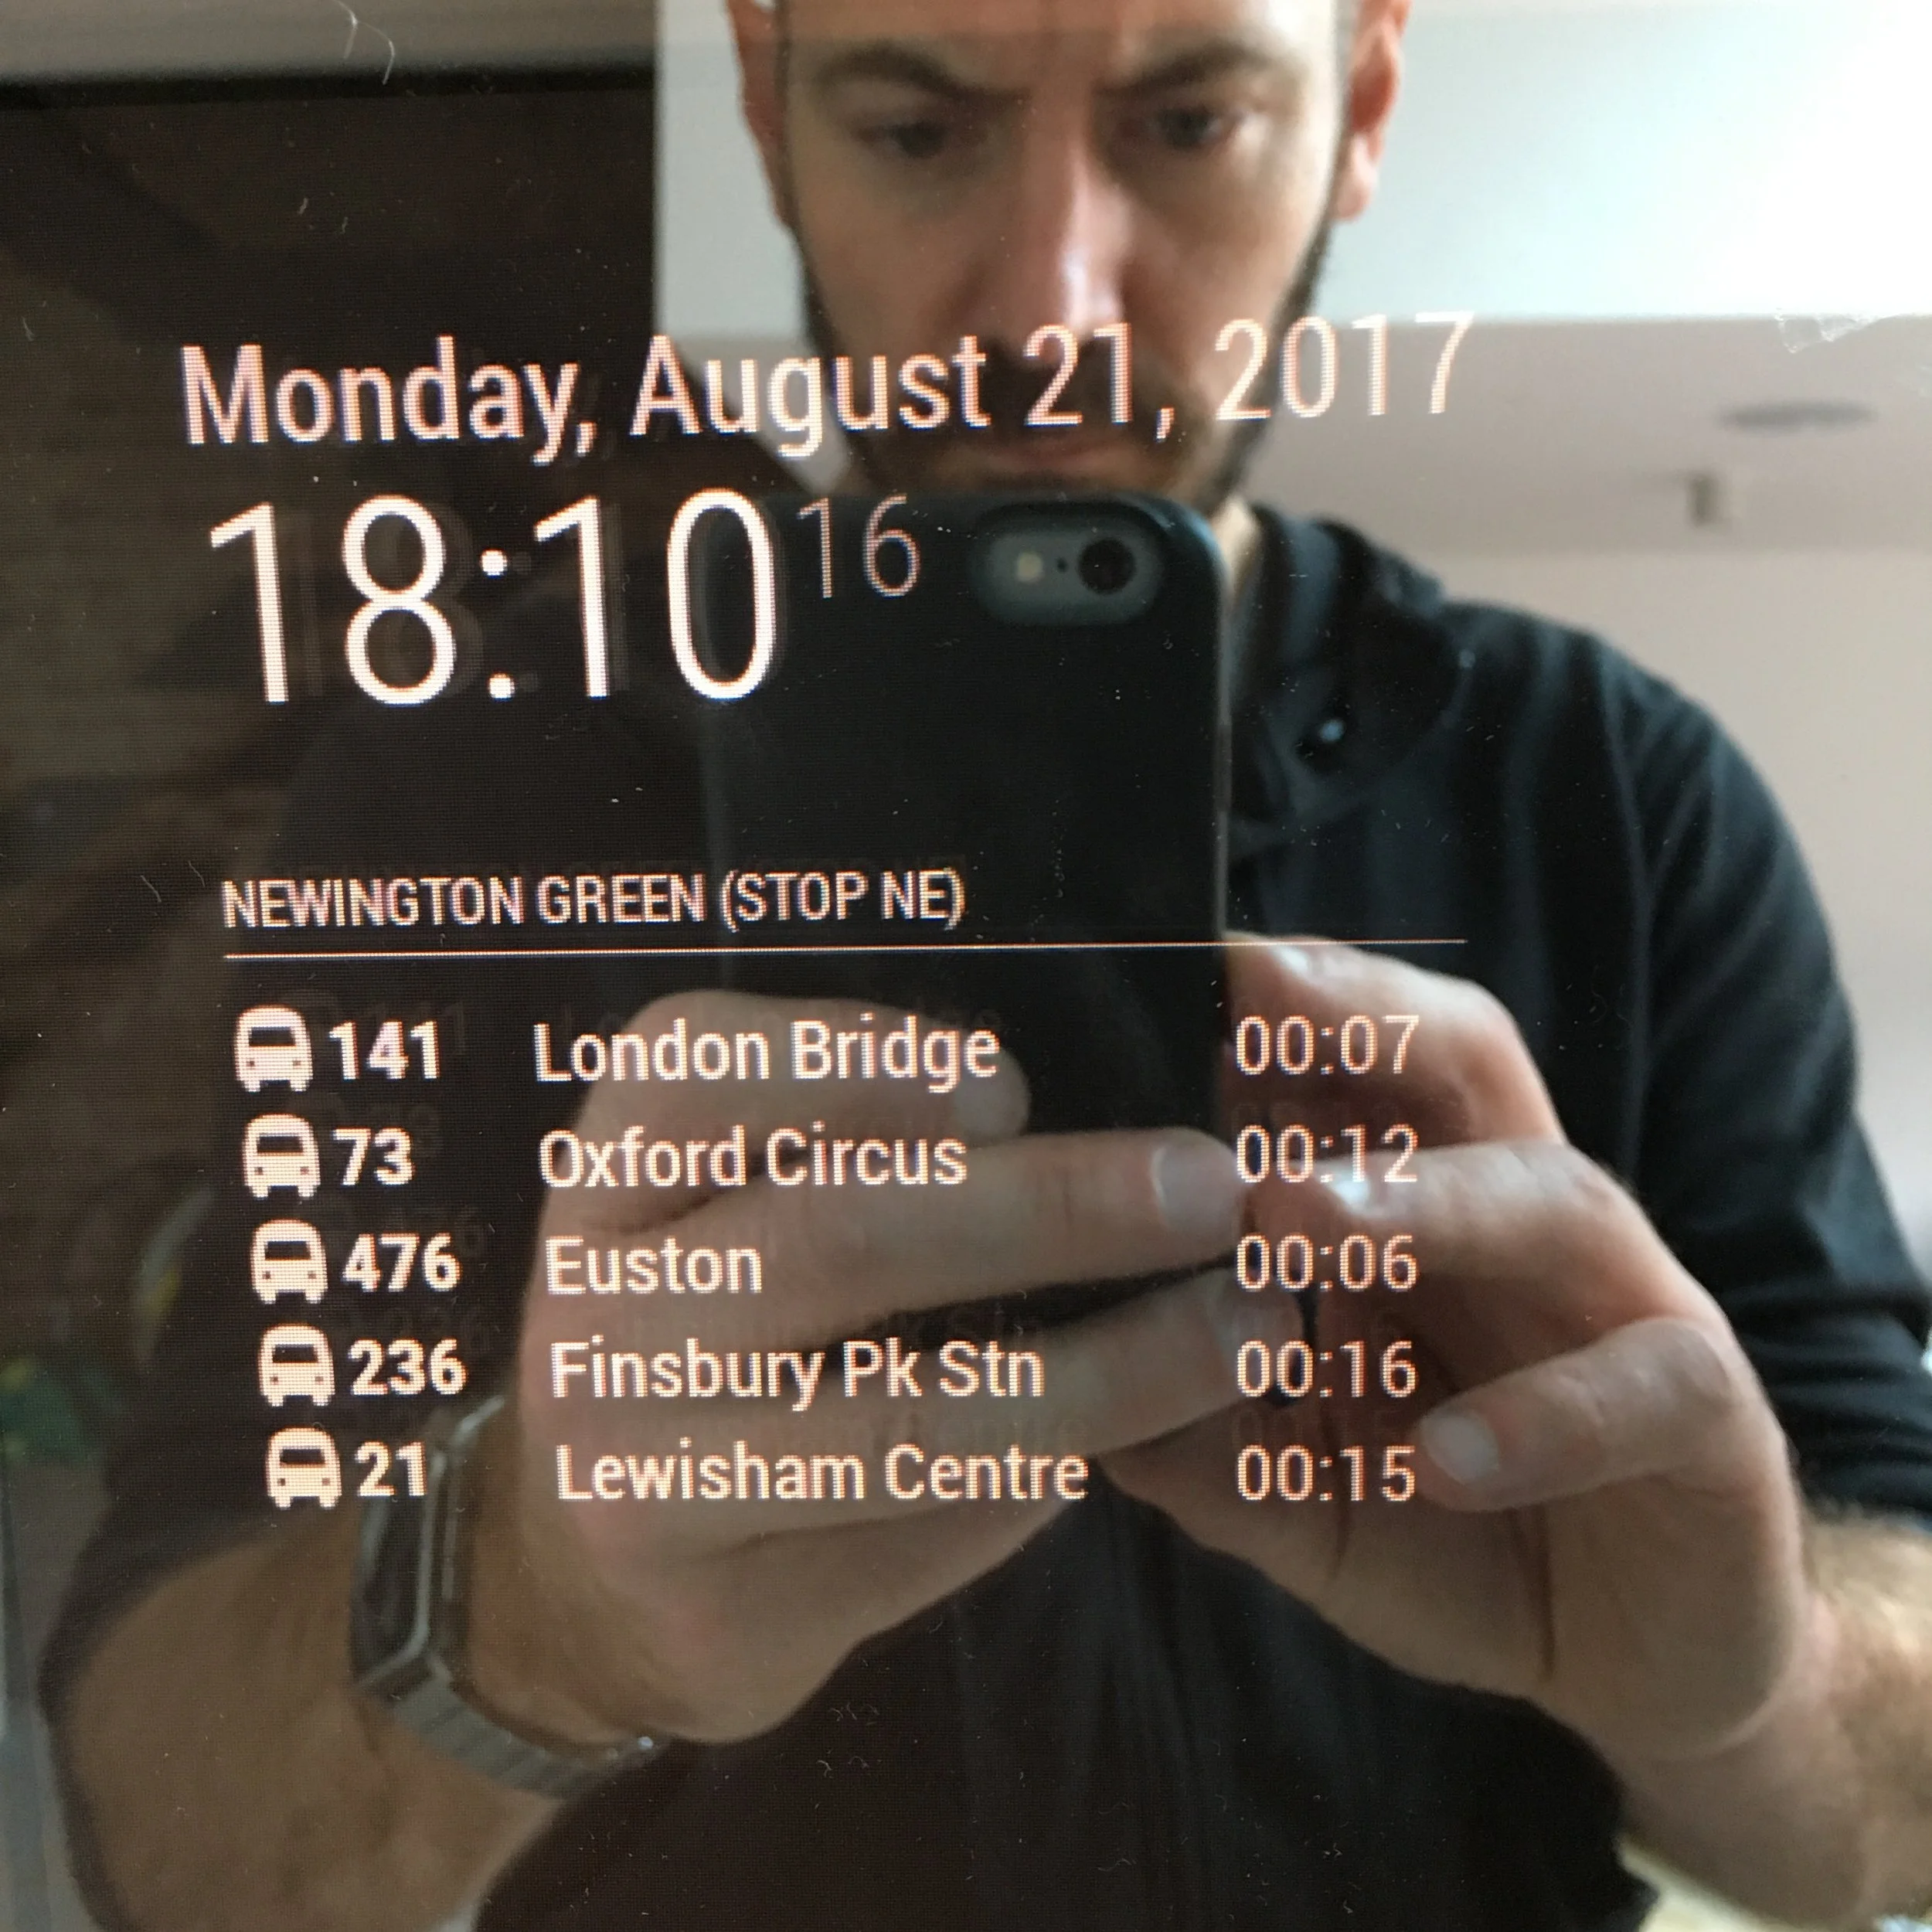
I kept missing my bus, so I made a two way mirror with a screen behind it plugged into a Raspberry Pi 3 and with a little bit coding got it displaying my local bus stop bus arrival times with real time API calls. Also a weather widget and time for good measure. 

IMG_2597.JPG
IMG_2609.JPG
IMG_2632.JPG
IMG_2631.JPG
IMG_2638.JPG

Will It Fit!

Rubiks cube meets Tetris in this mobile retro puzzle game mashup. Based on a section from IQ tests where you need to rotate shapes in your head, this game challenges you to fit the shape through the wall. Built in Unity and launching on Iphone and Android, check out the blog for more info and sign up for the Beta test here:

willitfit.blog

Will It Fit! Trailer 3

Old v New Chess Set

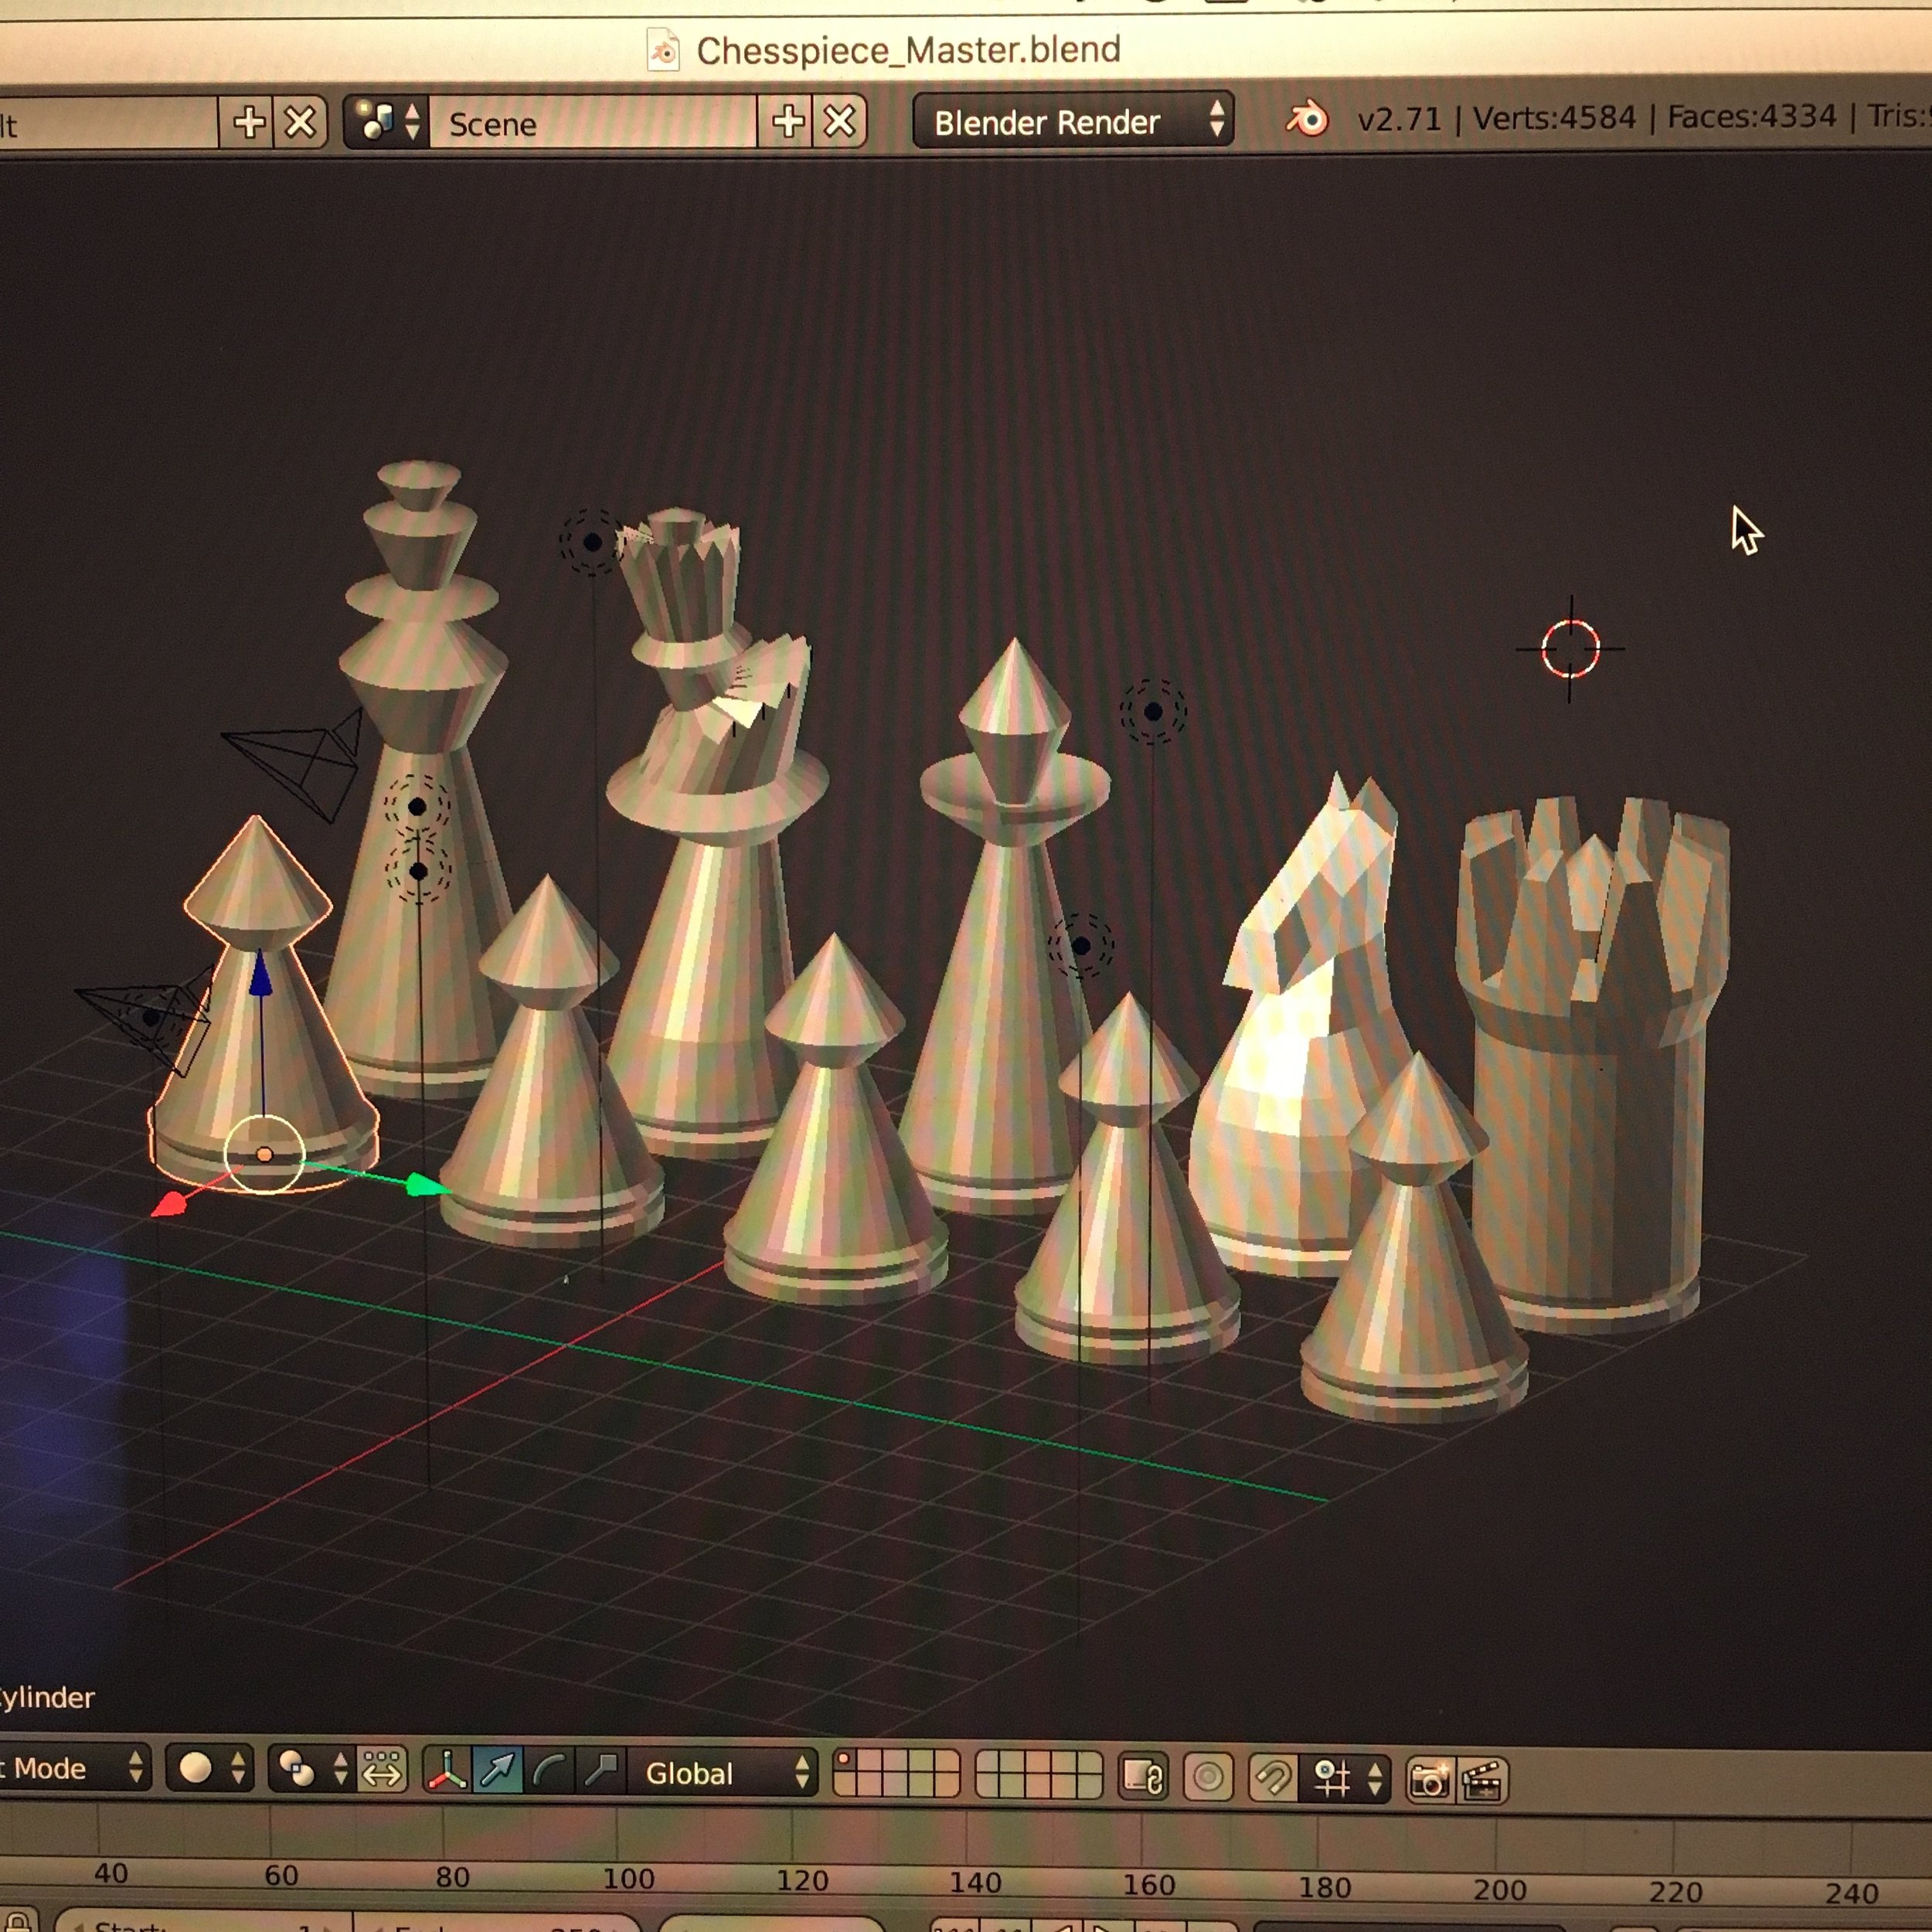
Old v New. This is an on-going project to create a chess set with one set turned on a wood lathe and the other set 3D printed. 

IMG_2287.JPG
photo (4).JPG
photo.JPG
photo.PNG
photo2.JPG
IMG_2275.JPG
IMG_2276.JPG
IMG_2285.JPG
IMG_2286.JPG

How to make a ukulele

 First thing you need is a dad that knows Things...

First thing you need is a dad that knows Things...

 and then do a little research.

and then do a little research.

 Wear some glasses and measure some stuff.

Wear some glasses and measure some stuff.

 Draw the outline.

Draw the outline.

 Make a template.

Make a template.

 Tool up.

Tool up.

 Find some wood. These are Mahogany floor boards from a house that was being demolished around the corner.

Find some wood. These are Mahogany floor boards from a house that was being demolished around the corner.

 Spend ages making them thin enough (1.2mm is optimum.)

Spend ages making them thin enough (1.2mm is optimum.)

 A really long time.

A really long time.

 Unless you cheat.

Unless you cheat.

 Cut the shape with a bandsaw.

Cut the shape with a bandsaw.

 Bend the wood into shape. This was the tricky bit, we tried all sorts of way of softening up the wood, from boiling it, to steaming it, to microwaving it. In the end we used a sawn-off section of catamaran mast and blowtorch to heat it up to about 3

Bend the wood into shape. This was the tricky bit, we tried all sorts of way of softening up the wood, from boiling it, to steaming it, to microwaving it. In the end we used a sawn-off section of catamaran mast and blowtorch to heat it up to about 300c.

 We used a water spray to keep the wood from burning. The oval shape of the mast was pretty good for getting the different curves of the Uke.

We used a water spray to keep the wood from burning. The oval shape of the mast was pretty good for getting the different curves of the Uke.

 Rig to keep the wood in shape while it cooled down.

Rig to keep the wood in shape while it cooled down.

 Reinforcing the back.

Reinforcing the back.

 Mum checks on progress.

Mum checks on progress.

 The stem.

The stem.

 Gripping stuff. (dad joke)

Gripping stuff. (dad joke)

 The bits ready to be stuck together. 

The bits ready to be stuck together. 

 I’m not actually sure what we used the lathe for, but it made sense at the time.

I’m not actually sure what we used the lathe for, but it made sense at the time.

 This is called ‘purfling’ which is a narrow decorative edge inlay. Usually mother of pearl or abalone, but in this case we used the reverse side of a CD. I want it to be ‘Now That’s What I Call Ukuleling’ but I’m pretty sure it was just a blank data

This is called ‘purfling’ which is a narrow decorative edge inlay. Usually mother of pearl or abalone, but in this case we used the reverse side of a CD. I want it to be ‘Now That’s What I Call Ukuleling’ but I’m pretty sure it was just a blank data disc. We must have used the lathe for the inlay, a router would have been too crude.

 Staining the wood with linseed oil (smells amazing).

Staining the wood with linseed oil (smells amazing).

 This is a Japanese saw, which differs from western saws because you pull it rather that push it. This means the teeth can be much much narrower than on western saws because when you pull the saw it automatically straightens the blade. Because you pu

This is a Japanese saw, which differs from western saws because you pull it rather that push it. This means the teeth can be much much narrower than on western saws because when you pull the saw it automatically straightens the blade. Because you push western saws the blade has to be thicker to stop it buckling. Anyway this was perfect for cutting the tiny grooves for the fret inlay.

 Just needs stringing. Violin strings work pretty well, and tuned to the bottom 4 strings of a guitar, but in this order: GCEA.

Just needs stringing. Violin strings work pretty well, and tuned to the bottom 4 strings of a guitar, but in this order: GCEA.

 And we’re done.

And we’re done.

 First song: Sweet child o’ mine.

First song: Sweet child o’ mine.

Auto Watering System

This is a project I'm just starting. I have a plant that I've managed to keep alive for about 15 years that I keep in the office. I usually go away to Australia at Christmas to see my family for about 4 weeks and during this time I have to get someone to water the plant. 

Now this enters an element of human fallibility into the equation which I'm not entirely happy about. Usually by the time I get back the plant is on its last legs and there's been more than a few close shaves. 

So I'm going to try and make an automated system that will water the plant when I'm not there. 

For this I'm going to use an Arduino micro controller (similar to the Makey Makey but more functionality) the reason i'm choosing this is mainly because the programming language is based on C and that's very similar to the C# that I've been learning to write games in Unity.

There are a couple of things which I want this project to achieve:

- Be self sufficient for at least 8 weeks.

- Only water the plant when the soil needs it, rather that on a timer. 

- Use solar panels to re-charge the battery.

- Use a syphon to top up the water reservoir.

- Alert me via twitter/email if there is a problem. 


photo.PNG
photo (2).JPG
photo (3).JPG
photo (1).JPG
 So far all I've got the board doing it blinking a LED on and of at varying rates. But its a start, so come back regularly as I'll be updating the project every few weeks or so. 

So far all I've got the board doing it blinking a LED on and of at varying rates. But its a start, so come back regularly as I'll be updating the project every few weeks or so. 

 UPDATE:  So, major breakthrough today. Have successfully wired a relay to the Arduino to trigger the pump. Need to use a relay as the pump runs on 12V and the Arduino only on 5V or 3,5V. So have hooked up a 12V battery to the relay and pump and its

UPDATE:

So, major breakthrough today. Have successfully wired a relay to the Arduino to trigger the pump. Need to use a relay as the pump runs on 12V and the Arduino only on 5V or 3,5V. So have hooked up a 12V battery to the relay and pump and its all working fine. Have tested it with a modification to the blinking LED code and can now turn the pump on and off at regular intervals via the Arduino. 

Next step is connecting the moisture sensor and configuring that so it triggers the pump when needed. Stay tuned.  

Moisture Sensor
Moisture Sensor

Update 15.2.14

Have got the moisture sensor and been playing around with it this morning. There's not much documentation, so I plugged it in and hoped for the best. The moisture sensor can be plugged straight into the Arduino, used much like a resistor which in some ways it is. However this is a bit limited and you might as well use a couple of nails as the sensor instead. this sensor came with an interface which allows either digital or analogue output which then plugs into the Arduino. I wasn't sure which one to use so I've done a little digging and both have their uses. Digital gives you yes/no reading based on a threshold.

Potentiometer
Potentiometer

 Oh one other thing I forgot to mention was the interface board has a potentiometer so the threshold can be adjust very easily with a screw driver. But I also tried the analogue output. This gives you a range of readings depending on the resistance. 

 I'm leaning slightly towards this approach for the moment as I've set up a Serial.println that and have adjusted the thresholds in the code so when the sensor is in a glass of water (maximum saturation) is says "too much water" when its in moist soi

I'm leaning slightly towards this approach for the moment as I've set up a Serial.println that and have adjusted the thresholds in the code so when the sensor is in a glass of water (maximum saturation) is says "too much water" when its in moist soil it reads "just right" and when its in air (maximum resistance) it says " thirsty". In the future I'll have this tweeted to a stream but at the moment it displays in the serial monitor.

 Next step is triggering the pump when the reading returns <300 "thirsty" and switching off when is reads "just right" with a failsafe for "too much water" >1000      

Next step is triggering the pump when the reading returns <300 "thirsty" and switching off when is reads "just right" with a failsafe for "too much water" >1000


Circuit diagram
Circuit diagram

I was having real trouble getting the relay to activate when the Arduino was HIGH, so I skyped my dad about it and we deduced that the relay was active LOW, which means it 'on' when there is no current. Bizarre, but at least it wasn't a problem with the code or board. So anyway dad drew this up to fix it and make it active HIGH. 

The housing
The housing

So needed something to put it all in. Decided on two 150mm perspex cubes, one for the electronics, one for the water.

Finished, for now
Finished, for now

There's some more functionality I'd like to add at a future date, like a power conservation mode to extend battery life and a wireless module so it can tweet updates on how the plants feeling etc, But for now I'm beta testing it as is with a basil plant to get a sense of how frequently it needs watering etc. Also there's another project I'm working on that's taking up a bit of time involving the Oculus Rift Dev kit 2...

Screen on Newington Green

How to build an outdoor cinema screen in your garden. 

My flat has a small backgarden which I thought could make a great outdoor cinema (as you do). So if you’re thinking of doing something similar, here’s how it’s done!


231.jpg
 First thing you need is a garden.

First thing you need is a garden.

 Preferably tidied.

Preferably tidied.

 Square tubing for the frame which I found on a website that produces modular furniture units.

Square tubing for the frame which I found on a website that produces modular furniture units.

 A good saw.

A good saw.

 A mitre to cut the piping at right angles.

A mitre to cut the piping at right angles.

 The best bit about this modular system is that it comes with a handy joining units.

The best bit about this modular system is that it comes with a handy joining units.

 Just bang the appropriate T L or + joins together and job done.

Just bang the appropriate T L or + joins together and job done.

 Measure up your screen. I used a photographic backdrop sheet, 200 weave, doesn’t let any light through which gives a better picture.

Measure up your screen. I used a photographic backdrop sheet, 200 weave, doesn’t let any light through which gives a better picture.

 Eyelet punch.

Eyelet punch.

 Every foot is fine but reinforce the corners as this is where the most stress will be when strung.

Every foot is fine but reinforce the corners as this is where the most stress will be when strung.

 A way to attach the screen to the frame. These are those coathook things that you hang on the back of doors.

A way to attach the screen to the frame. These are those coathook things that you hang on the back of doors.

 The first iteration I used bungie ties.

The first iteration I used bungie ties.

 But I found I had greater control of the tension of each part of the screen by using tiedowns

But I found I had greater control of the tension of each part of the screen by using tiedowns

 String it up

String it up

 Other points to consider. You obviously need a projector. If you can’t place the projector exactly front and centre of the screen you get an effect called tombstoning which skews the picture. There are projectors that can correct this digitally but

Other points to consider. You obviously need a projector. If you can’t place the projector exactly front and centre of the screen you get an effect called tombstoning which skews the picture. There are projectors that can correct this digitally but the picture quality suffers. The best ones do this through the lens. The one I have (Epson) has a massive amount of give, up to 50% left/right and 100% up/down. So I point the projector out the bedroom window on the first floor and swing the image over until it’s centred with the screen.

 Sound. This took ages to get right. First I tried domestic wiring, phono plugs etc, but over 10m you get lots of noise on the line, completely unusable so don’t waste your money. Go for XLR cables which are balanced. Then you just need the right con

Sound. This took ages to get right. First I tried domestic wiring, phono plugs etc, but over 10m you get lots of noise on the line, completely unusable so don’t waste your money. Go for XLR cables which are balanced. Then you just need the right connectors, for your system, Amazon is your friend here. I played out from a DVD player with phono out for sound, to 6mm headphone jacks with the other end to XLR to the pre-amped monitor speakers. The only thing that I have still to figure out is a remote volume control system.
 Update:  Have replaced tie-downs with a single long piece of Bungie cord threaded through the screen in a zig-zag fashion. The tie-downs were good but it took in excess of half an hour to put up or take-down. With the bungie cord it can be done in l
Update:

Have replaced tie-downs with a single long piece of Bungie cord threaded through the screen in a zig-zag fashion. The tie-downs were good but it took in excess of half an hour to put up or take-down. With the bungie cord it can be done in less than 10mins. 

Also, a note to home owners. If you build anything in your garden over 2m on a boundary fence expect to get a letter from the council. I solved this by making it a temp structure and just put it up when needed, hence the reason for swapping to the bungie cord for rigging.

 The first film I showed on the screen was Ghostbusters and it was epic.

The first film I showed on the screen was Ghostbusters and it was epic.

Toilet Tweet

Why is it that when you really need to go to the bathroom at work it’s being cleaned? Maybe it’s just in our offices, but it’s like those cleaners have a sixth sense or something.

So it got me thinking, is there some neat way we could know when it’s being cleaned, to save all those wasted trips?

Well, I was reading about this new type of sensor called ‘tod’ on Kickstarter. The really neat thing is that it uses very little power and one battery can keep it going for years because it uses the new low power Bluetooth 4.0 technology.

If you’re interested in the nitty gritty here’s the Kickstarter page:

http://www.kickstarter.com/projects/rowdyrobot/tod-connect-real-world-actions-to-mobile-devices-a.

So like all Kickstarter projects its running a bit late, but it is funded and all the dev is almost complete. So when the tod arrives I’m going to set up a perimeter ringfence around the toilets via a nearby PC. (One feature that’s very useful is the ability to set the broadcast distance from anywhere between 5ft to 300ft) Next I’ll attach the tod to the cleaning lady’s trolley (when she isn’t looking). So whenever the trolley comes within 15ft of the PC which is en-route to the toilets it’ll trip the perimeter ringfence and automatically tweet that the toilets are being cleaned. When the trolley exits the ringfence it will tweet again saying they’re all clean and it’s business time.


Toilet Tweet
Toilet Tweet


tod_beacon_5601.png

Makey Makey

So I stumbled on this thing a while ago and found it really intriguing. Its a micro controller that interfaces with a computer and allows you to essentially buttonofy objects that conduct electricity. For example you can run pacman on your computer and then use bananas as the left, right, up, down buttons to control pacman. Or you run a virtual piano keyboard on your computer and use people as the key's. Or you can set your webcam to take photographs every time your cat takes a sip of milk. I love the idea of something very simple like making objects into buttons allowing people to create very interesting interactions. 

photo (4).JPG
photo (1).JPG

Sweet Movies

This started out as a pub game one afternoon at the POW, where you combine movie titles with sweets. The next day we photoshopped the best ones together and then posted it to a facebook page and before we knew it we’d had 3 unique visitors. Here’s a sample of our favourites, but check out the facebook page for a bunch more.

http://www.facebook.com/pages/Sweet-movies/166436610056223

star-bar-wars1.jpg
73924_166480273385190_7621532_n1.jpg
74496_166485096718041_7747074_n1.jpg
74826_166480943385123_6373589_n1.jpg
149236_166483453384872_1527714_n1.jpg
155543_166439340055950_5115625_n1.jpg
prev / next
Back to Other projects
16
Damascus Steel
16
Arcade Machine
17
Jewellery
5
Smart Mirror
Will It Fit! Trailer 3
1
Will It Fit!
IMG_5851.PNG
0
Mind Sub
9
Old v New Chess Set
dad.jpg
26
How to make a ukulele
photo 6.JPG
13
Auto Watering System
231.jpg
19
Screen on Newington Green
cleaning-4.jpg
2
Toilet Tweet
photo (4).JPG
2
Makey Makey
star-bar-wars1.jpg
6
Sweet Movies
tree-fantasy-wallpaper-1.jpg
0
Screenplay: 'A Twist in the Fairy's Tale'
Rolllerball.jpg
0
My first game in C# and Unity